
Brief :
"As a team students will create a scale template for a Ferrari 250 GTO and then divide it into equal portions. As individuals they will create an aluminium skin to adhere to their portion of its contours."
Step 1: The Mould
A GTO model was put through a slicer program to output slice files that could be used for the laser cutter to cut MDF boards. These parts were then assembled and tape was used to gain an understanding of the overall shape.


From this model, the section of the car were divided between the six members in the group. I received the front left (if looking from direction of picture) fender.
Step 2: Template
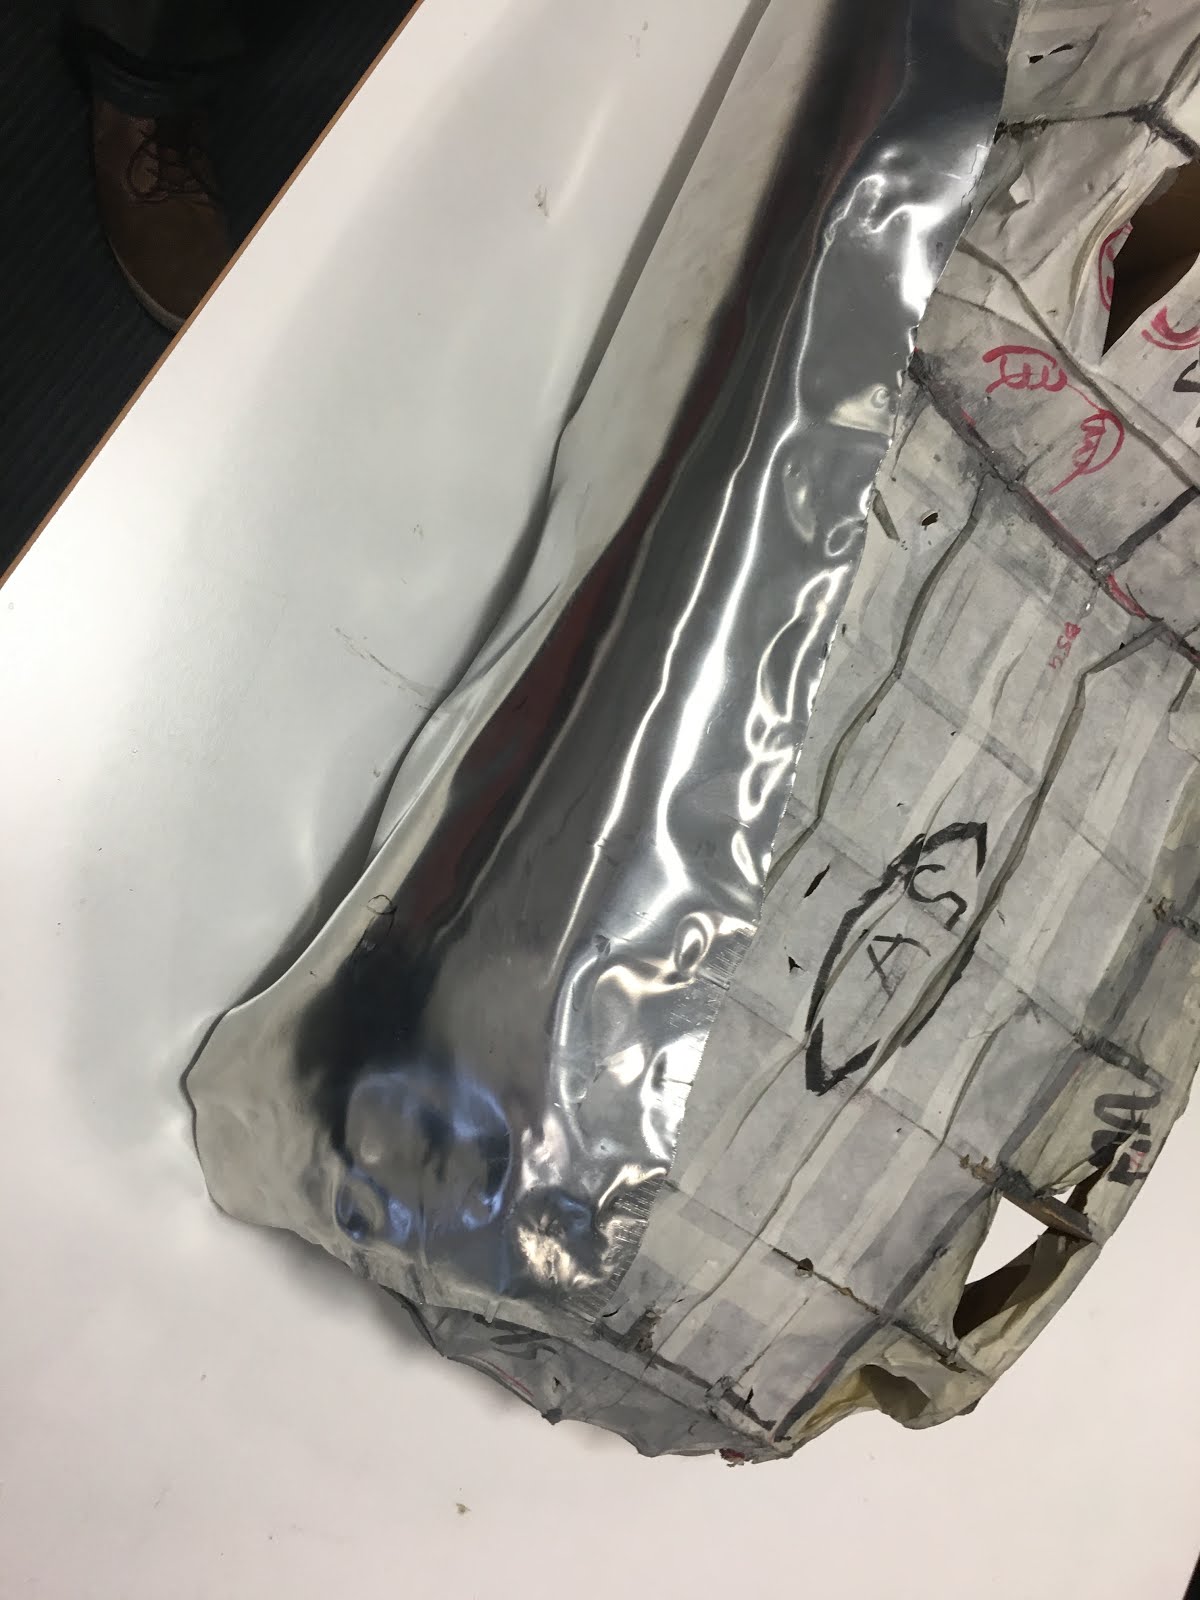
Once the section was decided on, it was then onto creating a template based off the scale model using paper, which could be transferred to a sheet on anodized aluminum.

Step 3: Intital Shape
To get a feel of the direction of what the shape of the piece you'll be aiming for. the piece of metal is bent over the mould

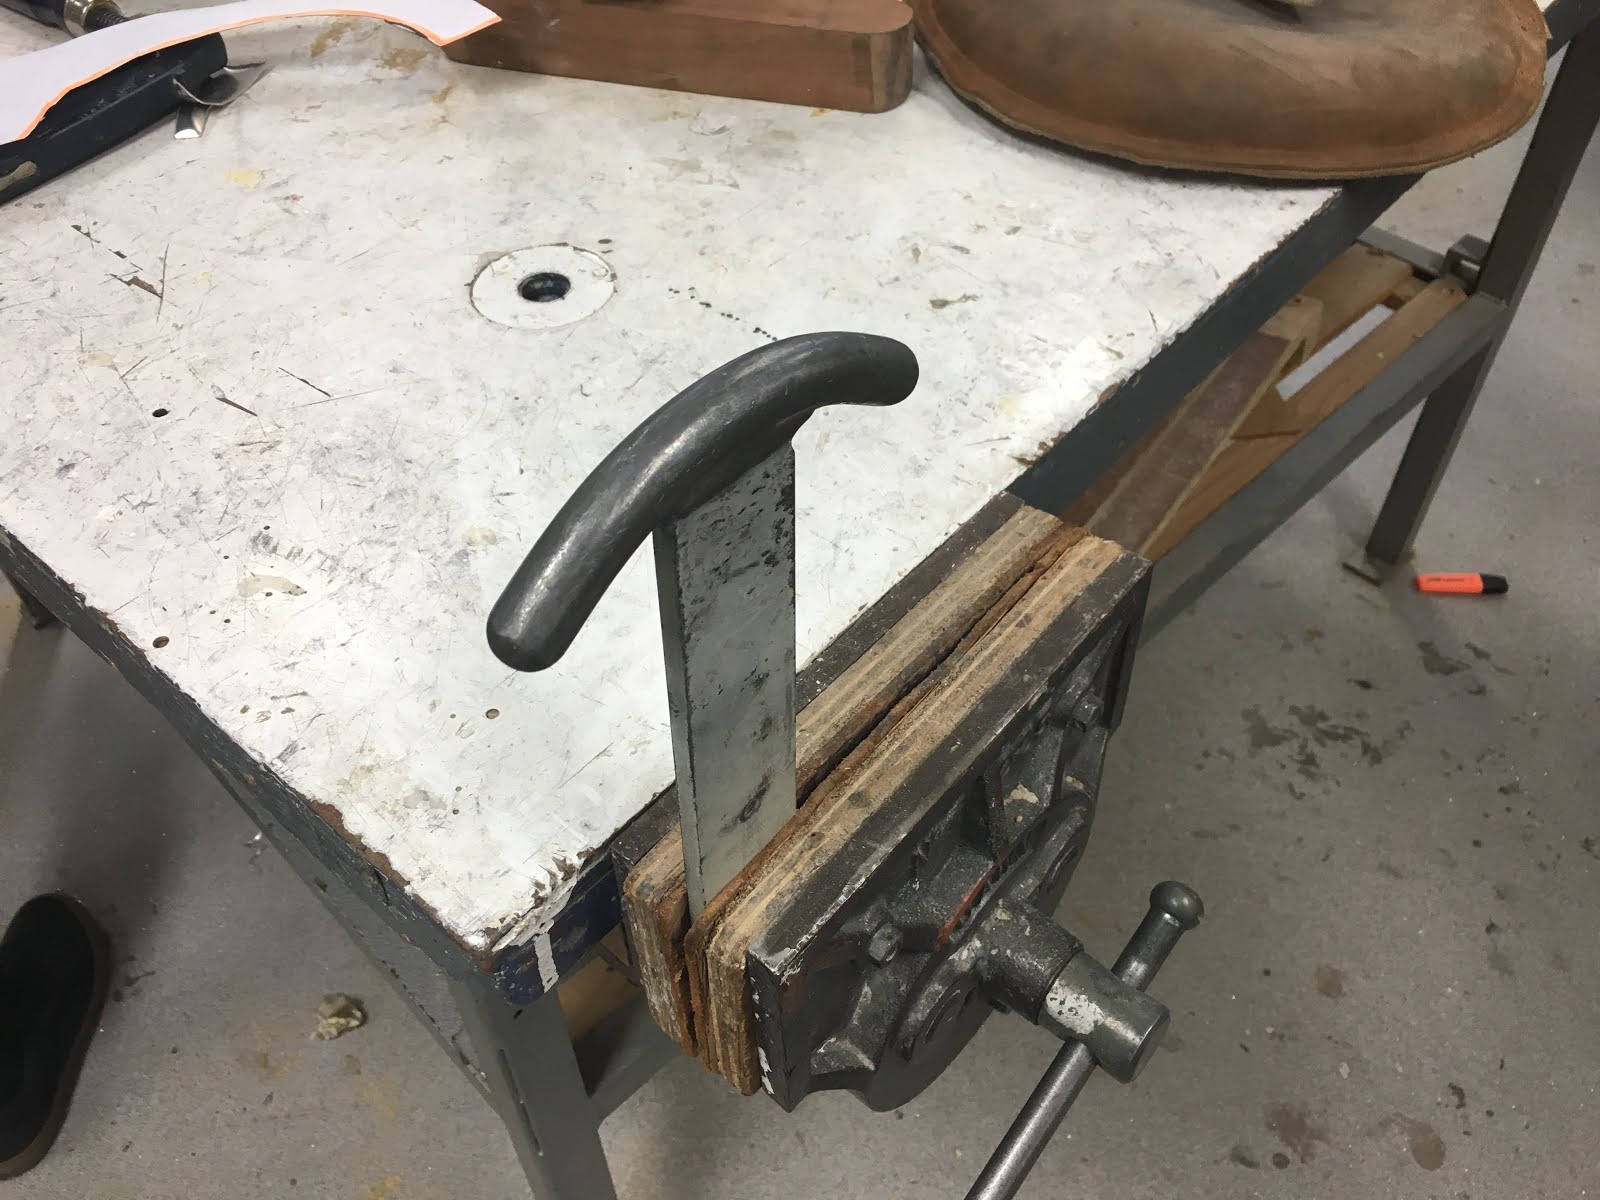
Step 4: Beginning the shape
After getting an idea of the shape, further moulding must be done. Using the metal hammer, rounded hammer, and dollys, the shape is further realised.


Step 5: Further Development of Shape
To further the shape, the metal is shrunk by the shrinking machine and the sides are rolled out on the English wheel. Make sure to file the edges to ensure there are no splits and that the edge isn't sharp


Step 6: Final adjustments
Making small touch ups with the metal hammer are needed to get the piece to fit nicely to the mould. This is done with a light hand with the metal hammer.


Step 7: Finishing
It is important to note that you must always refer back to the model to ensure your part is fitting and fits with the other section. Once you are happy with the shape and how it fits with the other parts, sanding begins, using wet and dry sand paper.


Step 8: Assembling the Model
Once everyone is completed the model is able to be assembled. It is important to work in unison with the people next to your part to ensure the lines between parts are smooth. Below is the final product.


Comments
Post a Comment