Step 1: Set Up
Using metal cutters, cut your metal into a circle, that you have already marked with a accurate circle. Following that draw 2 rings on the plate, at equidistant. These marks will act as guides later. Make sure you also file the side so the metal doesn't split.


Step 2: Initial Shaping
Now begin shrinking the metal using the wooden mould shown below, and using the pointed side of the rounded hammer, shown below. Then move onto the sandbag to further shape the metal into a bowl


Step 3: Further Shaping
Smoothen the shape of the bowl by using the rounded side of the hammer on the sandbag. Then progress onto a dolly to rid the shape of small defects.


Step 4: English Wheel
Using the english wheel will help get a near perfect bowl shape, however it will sometimes defect the overall shape of the bowl. The proper english wheel shape is imperative to gain the right shape. Use a wheel that matches the initial curvature of the bowl shape.


Step 5: Finishing
To Finish the bowl, you can sand and file the edges and surfaces to have a perfectly smooth shape. Start with low grit, wet and dry sand paper and using a bit of water work your way up to higher grits.

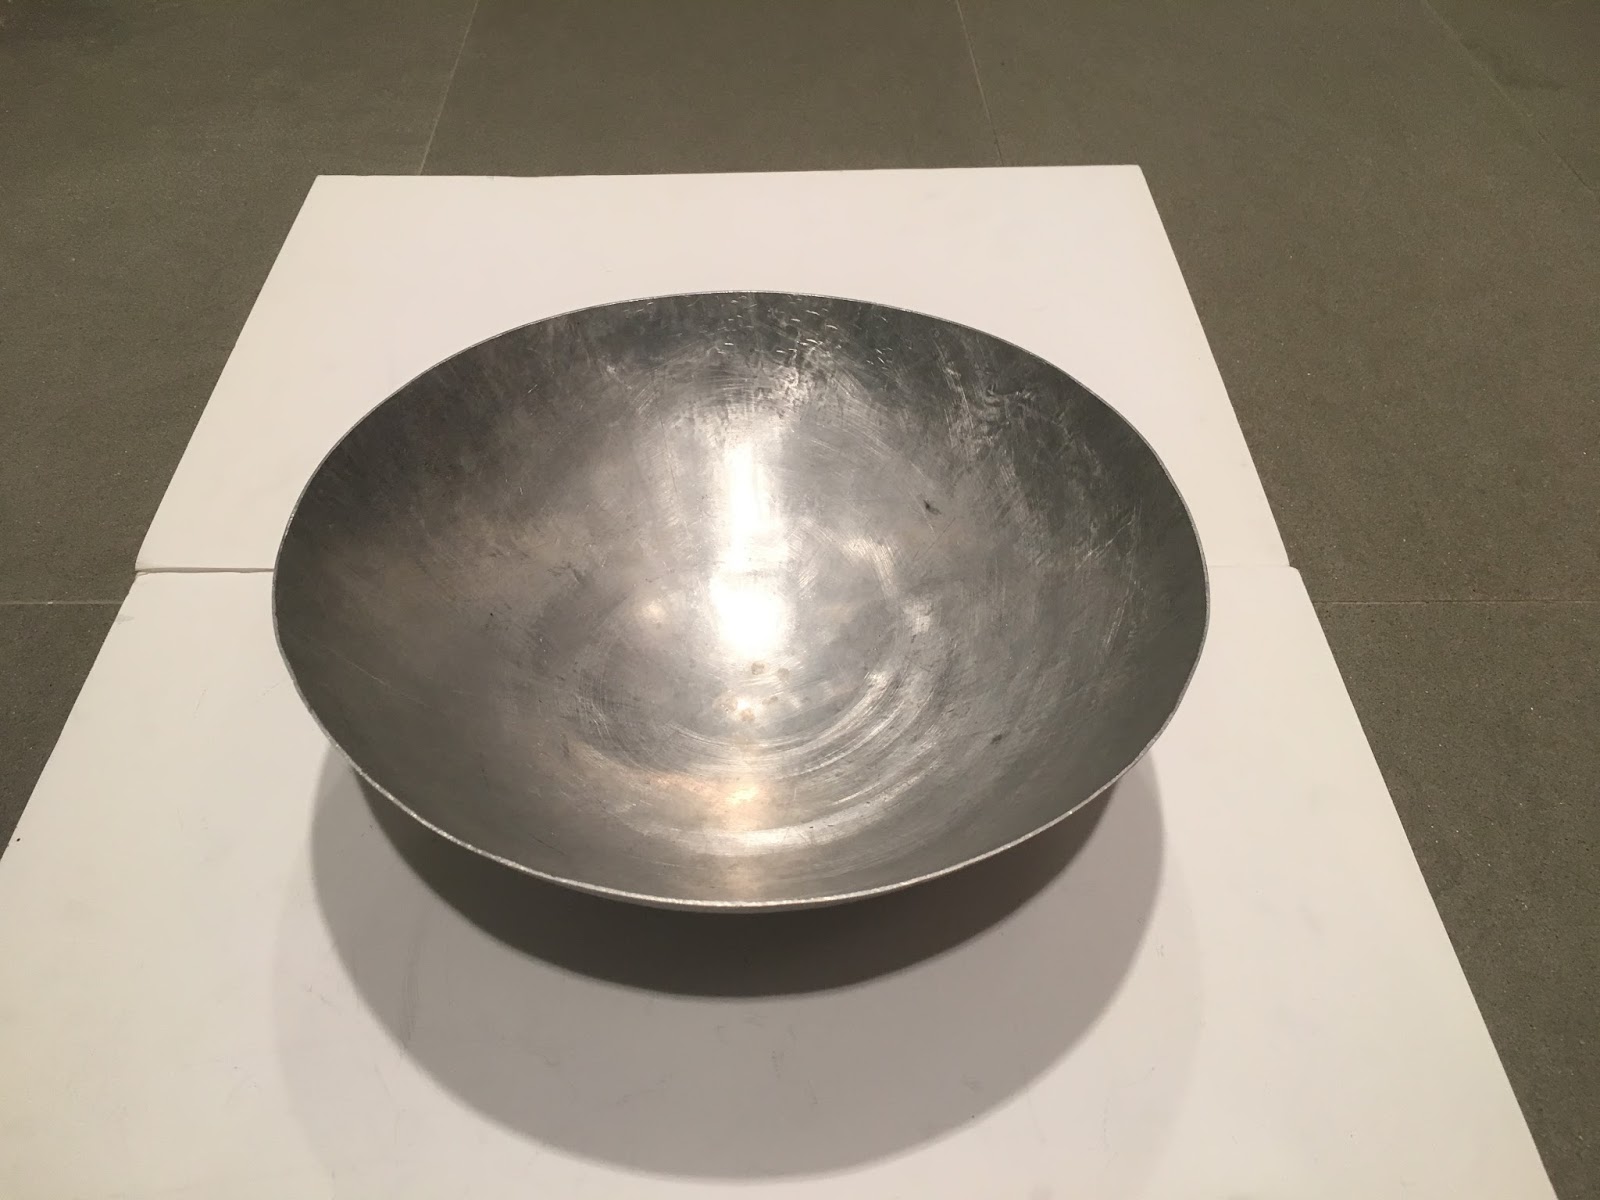
Finished Bowl:


Comments
Post a Comment